
Kajabi Account Setup Guide for Beginners in 2026
A practical beginner's guide to setting up a Kajabi account, from business information and domain settings to payments, courses, offers, email marketing, SEO, and launch testing.
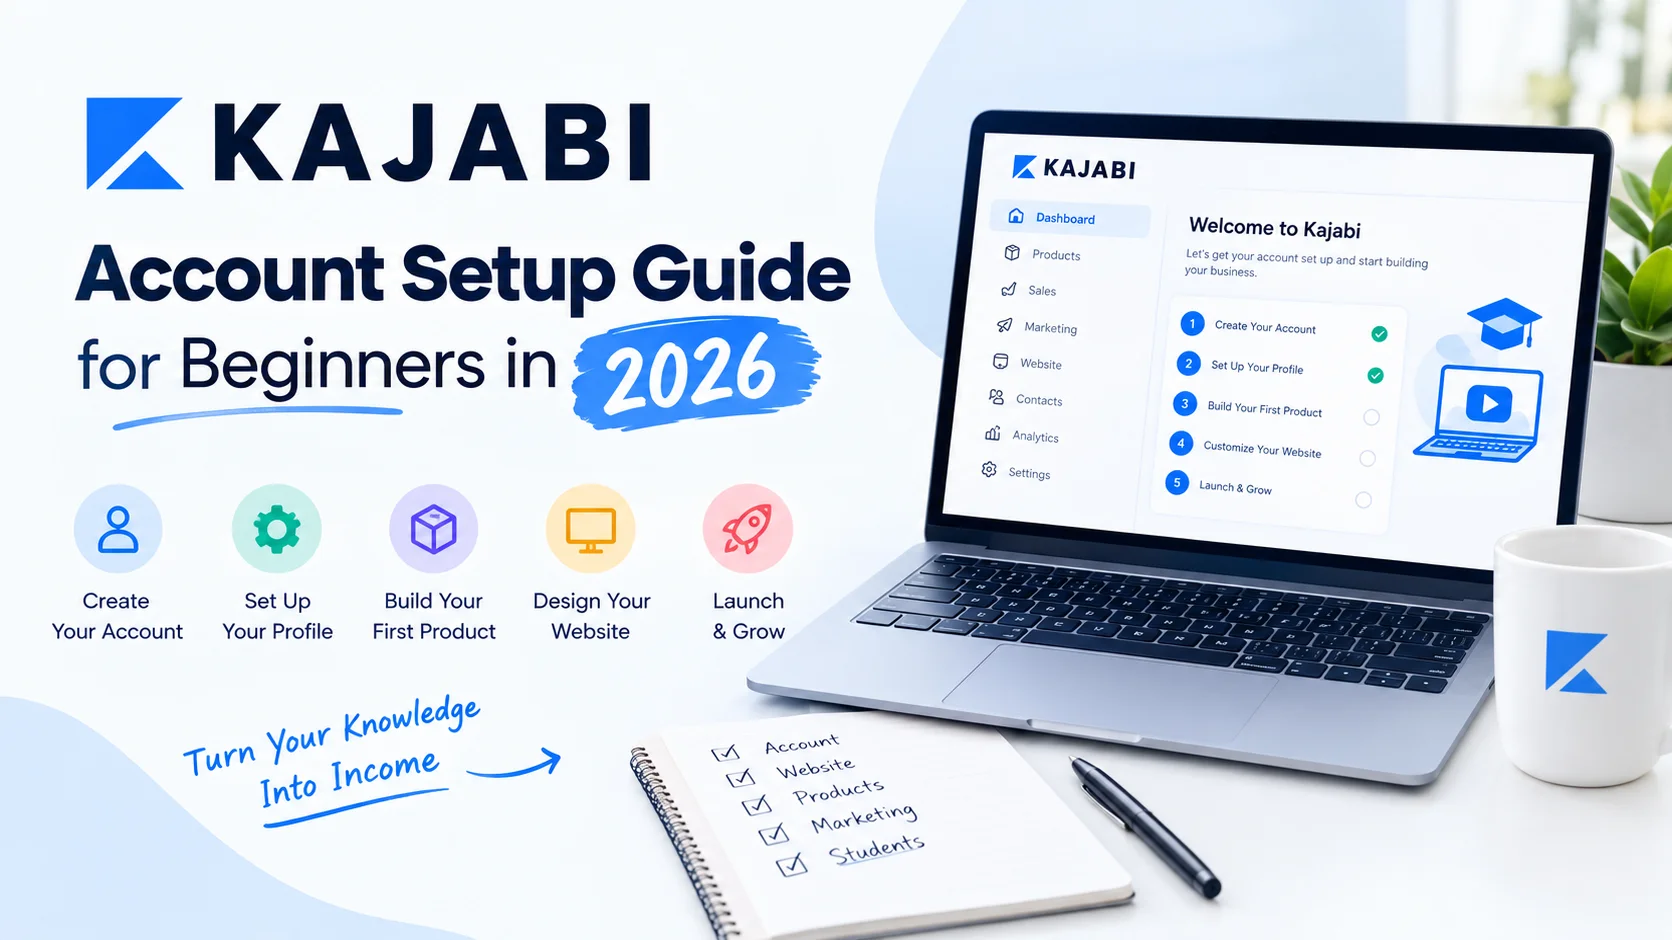
Table of Contents ▼
Quick Answer
This beginner-friendly guide explains how to set up a Kajabi account in 2026. It covers business information, branding, custom domains, payment processing, email settings, website creation, digital products, offers, landing pages, automation, blogging, SEO, testing, and launch preparation.
Key Takeaways
- Complete your basic account settings first — business information, branding, domain, payments, and email.
- Create a clear website and digital product that gives learners a simple and organized experience.
- Set up offers and checkout so customers can easily purchase and access your product.
- Use forms, email marketing, and automation to build a smooth customer journey.
- Test everything before launch — especially your website, emails, payments, checkout, and course access.
Setting up Kajabi for the first time can feel like a lot. You may see options for websites, courses, offers, payments, email marketing, landing pages, automations, and analytics before you even create your first product.
The good news is that you do not need to configure everything on day one.
A successful Kajabi account setup starts with the essential business settings and then moves toward your website, payment system, digital product, offer, email marketing, and customer journey. Taking this approach can help you avoid common problems before launching your first course or digital product.
Kajabi’s current setup guidance recommends completing foundational settings such as business information, branding, domain, payments, email, website details, and testing before moving fully into your launch.
This guide explains how beginners can set up Kajabi step by step and prepare a professional foundation for an online course or knowledge-based business.
What Is Kajabi?
Kajabi is an all-in-one platform designed for people who want to create, market, and sell digital products and services.
Its features can support online courses, memberships, coaching programs, websites, landing pages, email marketing, offers, payments, sales funnels, and customer management.
For educators, coaches, consultants, course creators, and training businesses, this means several parts of the customer journey can be managed from one platform.
Kajabi’s beginner tutorial recommends starting with the core account settings before building products, including payments, domains, marketing settings, and website details.
For readers who are still deciding whether the platform is suitable for their needs, TheEduAssist also covers Is Kajabi Easy to Use?
What Do You Need Before Setting Up Kajabi?
Before you start configuring your account, prepare the basic information and assets you are likely to need.
These can include:
- Business or brand name
- Professional email address
- Logo
- Favicon
- Brand colors
- Website domain
- Business contact information
- Course or product idea
- Payment account
- Basic product description
- Customer or audience information
You do not need a completely finished business before starting. However, having these essentials ready can make the setup process smoother.
If you already own a domain, keep access to your domain registrar available because you may need to modify DNS settings when connecting it to Kajabi.
Step 1: Create Your Kajabi Account
The first step is creating your Kajabi account and entering the information requested during registration.
After signing in, you will arrive at your dashboard. This becomes the central workspace for managing your website, products, customers, marketing activities, and other parts of your business.
At this stage, avoid immediately uploading dozens of course lessons.
Instead, start with your account settings.
Kajabi’s current setup guide explains that completing foundational settings early can prevent problems involving branding, email deliverability, payments, and other launch requirements.
Step 2: Configure Your Business Information
Start by completing your business information.
Depending on your business, this can include:
- Business name
- Logo
- Favicon
- Contact information
- Business details
Your branding can appear across different customer-facing areas of your Kajabi account.
This is important because consistency helps visitors recognize your business across your website, emails, checkout pages, and learning environment.
For example, if your website uses one business name but your emails display a different sender name, customers may become confused.
Set your core branding once and then use it consistently.
Step 3: Connect Your Custom Domain
A custom domain gives your online learning business a branded web address.
For example:
Instead of relying entirely on a platform-generated address, a custom domain gives you a web identity that can remain connected to your business as your audience grows.
Kajabi’s current setup checklist recommends configuring a custom domain during the early setup process. DNS changes can require some time before they become fully active.
Before connecting the domain:
- Confirm that you own the domain.
- Make sure you can access your domain registrar.
- Identify where DNS records can be managed.
- Follow Kajabi’s current domain instructions.
- Test the domain after configuration.
Do not wait until launch day to complete this step.
Step 4: Set Up Your Payment System
If you intend to sell an online course, membership, coaching program, or digital product, payment processing is essential.
Kajabi’s beginner documentation recommends setting up payment integrations early. Depending on your account and location, payment options and available integrations can vary. Kajabi’s documentation discusses payment connections such as Stripe and PayPal.
Your payment system should be tested before you start promoting a product.
Check the complete purchasing journey:
Product → Offer → Checkout → Payment → Confirmation → Product Access
TheEduAssist also has a dedicated guide covering What Payment Methods Does Kajabi Accept?
This can be useful if you need more information about payment options before configuring your checkout.
Step 5: Configure Your Email Settings
Email is another important part of your setup.
Your email settings affect how customers receive communications from your business.
Configure the relevant information, including:
- Sender name
- Sender email
- Business information
- Email branding
- Required business address information
- Email domain settings where applicable
Kajabi’s beginner guide recommends configuring email settings after handling the basic payment and domain setup.
You should also send test emails to yourself.
Check:
- Sender name
- Subject line
- Formatting
- Links
- Mobile display
- Footer information
- Call-to-action buttons
A customer should immediately understand who sent the message and why they received it.
Step 6: Build Your Basic Website
Once your foundational settings are ready, you can begin building your website.
You do not need twenty pages to launch.
A simple starting structure could include:
- Home
- About
- Products or Courses
- Contact
- Blog
- Privacy Policy
- Terms and Conditions
Your homepage should quickly communicate:
Who are you?
Who do you help?
What do you offer?
What should the visitor do next?
Kajabi’s beginner resources explain that its website builder provides customizable themes and allows creators to build websites without requiring traditional coding skills.
For TheEduAssist’s audience, the website should also support the educational journey rather than simply act as an online brochure.
Step 7: Create Your First Digital Product
After your core settings are ready, create your first product.
Your product could be:
- Online course
- Membership
- Coaching program
- Digital download
- Workshop
- Educational resource
- Community-based learning experience
If you are creating a course, plan the learning structure before uploading content.
For example:
Course
→ Module 1
→ Lesson 1
→ Lesson 2
→ Lesson 3
→ Module 2
→ Lesson 1
→ Lesson 2
This makes the learning experience easier to navigate.
For a more detailed walkthrough, see TheEduAssist’s How to Create a Course on Kajabi: Beginner’s Guide
Kajabi’s current product-launch guidance also recommends completing the core product content before launch.
Step 8: Create an Offer
One important concept for beginners is understanding the difference between a product and an offer.
The product contains the content or experience.
The offer connects that product with pricing and checkout.
For example:
Product: SEO Fundamentals Course
Offer: $99 one-time payment
You could potentially create another offer for the same product using a different pricing structure, depending on your business model.
Kajabi’s current product-launch guide describes an Offer as the pricing layer connecting the product with the checkout experience.
Before publishing an offer, make sure your pricing, payment method, product access, and customer messaging are clear.
Step 9: Create a Sales or Landing Page
Your sales page explains the product to potential customers.
A useful sales page should answer questions such as:
- What problem does the product solve?
- Who is it for?
- What will the learner receive?
- What topics are included?
- How does access work?
- What does it cost?
- What happens after purchase?
Keep the structure easy to scan.
Use clear headings, short paragraphs, relevant visuals, and strong calls to action.
Avoid making the page complicated simply because Kajabi gives you many customization options.
Step 10: Set Up Email Marketing and Automation
Once your product and offer are ready, connect your email marketing system.
A simple customer journey might look like:
Visitor
→ Landing Page
→ Email Signup
→ Welcome Email
→ Educational Content
→ Product Offer
→ Checkout
→ Purchase
→ Customer Onboarding
This is where automation can save time.
For example, someone who downloads a free resource could receive a welcome email followed by educational messages and an invitation to explore a paid course.
For more advanced workflows, TheEduAssist has a dedicated resource on Kajabi Automation Workflows.
You can also explore Kajabi Advanced Automations when you are ready to create more detailed workflows.
Do not automate everything immediately. Start with the customer journeys that occur most frequently.
Step 11: Add a Lead-Capture Form
A lead form allows visitors to join your email list.
You could offer something useful in exchange for an email address, such as:
- Free checklist
- Mini-course
- PDF guide
- Template
- Webinar
- Free lesson
- Educational resource
The purpose is not simply to collect as many email addresses as possible.
The goal is to attract people who are genuinely interested in the problem your product solves.
Kajabi’s setup guidance includes forms and pipelines among the foundational tools creators can configure before launching.
Step 12: Set Up Your Blog
A blog can support organic search visibility and provide useful educational content for your audience.
Instead of publishing unrelated topics, create content around the questions your ideal learners or customers actually ask.
For example, an online course business about digital marketing could publish content covering:
- SEO
- Content marketing
- Email marketing
- Course creation
- Lead generation
- Digital product strategy
Kajabi’s Help Center explains that its blog includes SEO and sharing settings for the blog and individual posts.
TheEduAssist also has a detailed resource on [Kajabi Blogging Strategy for Course Creators]. Kajabi Blogging Strategy for Course Creators
A useful blog strategy should connect educational content with relevant products and resources without forcing promotional messages into every article.
Step 13: Optimize Basic SEO Settings
SEO should be considered during your initial website setup.
Start with the basics:
- Descriptive page titles
- Relevant meta descriptions
- Clear URLs
- Logical heading structure
- Helpful content
- Internal links
- Descriptive image alt text
- Mobile-friendly pages
Do not repeat the same keyword unnaturally throughout your content.
Instead, answer the searcher’s question clearly and organize the information so both readers and search engines can understand the page.
Your blog should also have a clear relationship with your products.
For example, an article about creating an online course can naturally link to your course-development resources or relevant product page.
Step 14: Test Your Entire Customer Journey
Before launching, test the complete experience.
This step is easy to skip when you are excited about publishing your first course, but it can reveal problems that are difficult to notice while building.
Website Test
Check:
- Navigation
- Buttons
- Forms
- Mobile layout
- Page loading
- Internal links
Email Test
Check:
- Sender details
- Formatting
- Links
- Mobile display
- Automated sequences
Payment Test
Check:
- Checkout
- Payment process
- Confirmation
- Customer access
- Purchase emails
Product Test
Check:
- Lessons
- Videos
- Downloads
- Course navigation
- Student access
Kajabi’s current account setup guidance specifically recommends testing the end-to-end experience before sending real traffic to the site.
Step 15: Prepare for Launch
Once everything works, you can prepare your launch.
Your launch does not have to be complicated.
Start by deciding:
- Who is the product for?
- What problem does it solve?
- What is included?
- What is the price?
- When does enrollment open?
- How will people hear about it?
- What happens after purchase?
Kajabi’s current launch guidance recommends building the product, creating the offer, preparing the sales page and customer communications, testing the experience, and then promoting the product.
You can also use content marketing before launch to educate your audience about the problem your product addresses.
Common Kajabi Setup Mistakes
1. Building Everything at Once
Beginners sometimes try to configure every feature immediately.
Start with your essential customer journey and expand later.
2. Forgetting Mobile Users
Always check your website and important pages on mobile devices.
3. Launching Without Testing
A small checkout or email problem can create unnecessary friction for customers.
Test the complete journey before launch.
4. Ignoring Branding
Use consistent logos, colors, fonts, and messaging across your website and customer communications.
5. Creating Too Many Automations
Automation is useful when it solves a real workflow problem. Too many complicated sequences can make your system difficult to understand and maintain.
Kajabi Account Setup Checklist
Use this checklist before launch:
- Create Kajabi account
- Add business information
- Upload logo
- Add favicon
- Configure branding
- Connect custom domain
- Configure payment processing
- Configure email settings
- Build basic website
- Create first product
- Create offer
- Build sales or landing page
- Create lead form
- Set up email sequence
- Configure basic SEO
- Create relevant blog content
- Test checkout
- Test emails
- Test product access
- Test the complete customer journey
Frequently Asked Questions
Is Kajabi suitable for beginners?
Kajabi can be used by beginners, although its range of features means there is a learning curve. Starting with the basic settings, website, product, offer, and customer journey makes the platform easier to approach.
What should I set up first in Kajabi?
Start with business settings, branding, payments, domain, email settings, and site details. Kajabi’s own beginner guidance recommends handling these foundational settings before moving further into product creation.
Do I need a custom domain for Kajabi?
A custom domain is not necessarily required to begin, but it can provide a more professional branded website address. If you already own a domain, configuring it early can help avoid delays later.
Can I create an online course with Kajabi?
Yes. Kajabi supports digital products including online courses, memberships, coaching, and other knowledge-based products.
Should I test Kajabi before launching?
Yes. Test your website, forms, emails, checkout, payment process, product access, and customer journey before sending real visitors to your offer.
Can Kajabi support blogging and SEO?
Yes. Kajabi provides blogging functionality with SEO and sharing settings for blog pages and individual posts.
Final Thoughts
A successful Kajabi setup is less about activating every available feature and more about creating a reliable foundation.
Start with your business information, branding, domain, payment system, email settings, and website. Then create your first product and offer, build a simple customer journey, and test everything before launch.
Once that foundation works, you can expand into blogging, advanced automation, additional products, email campaigns, and other growth activities.
For educators, coaches, consultants, creators, and training businesses, this structured approach can make Kajabi easier to manage while keeping the focus on the learner and customer experience.
TheEduAssist can also be a useful resource as you move beyond basic setup into course creation, instructional design, LMS strategy, SEO, automation, and digital learning development.
References and Sources
- Kajabi — How to Set Up Your Kajabi Account Official Kajabi account setup guide
- Kajabi — Tutorial for Beginners Official Kajabi beginner tutorial
- Kajabi — How to Launch Your First Product Official Kajabi product launch guide
- Kajabi Help Center — Blog Overview Kajabi Blog documentation
- Kajabi — How to Create a Blog on Your Website Official Kajabi blogging guide
Sources & References
Frequently Asked Questions
QIs Kajabi suitable for beginners?
Kajabi can be used by beginners, although its range of features means there is a learning curve. Starting with the basic settings, website, product, offer, and customer journey makes the platform easier to approach.
QWhat should I set up first in Kajabi?
Start with business settings, branding, payments, domain, email settings, and site details. Kajabi's own beginner guidance recommends handling these foundational settings before moving further into product creation.
QDo I need a custom domain for Kajabi?
A custom domain is not necessarily required to begin, but it can provide a more professional branded website address. If you already own a domain, configuring it early can help avoid delays later.
QCan I create an online course with Kajabi?
Yes. Kajabi supports digital products including online courses, memberships, coaching, and other knowledge-based products.
QShould I test Kajabi before launching?
Yes. Test your website, forms, emails, checkout, payment process, product access, and customer journey before sending real visitors to your offer.
QCan Kajabi support blogging and SEO?
Yes. Kajabi provides blogging functionality with SEO and sharing settings for blog pages and individual posts.