
Kajabi Advanced Automations: A Complete Guide for 2026
Learn how Kajabi Advanced Automations work in 2026, including triggers, actions, conditions, Wait Nodes, customer journeys, onboarding workflows, and practical automation strategies.
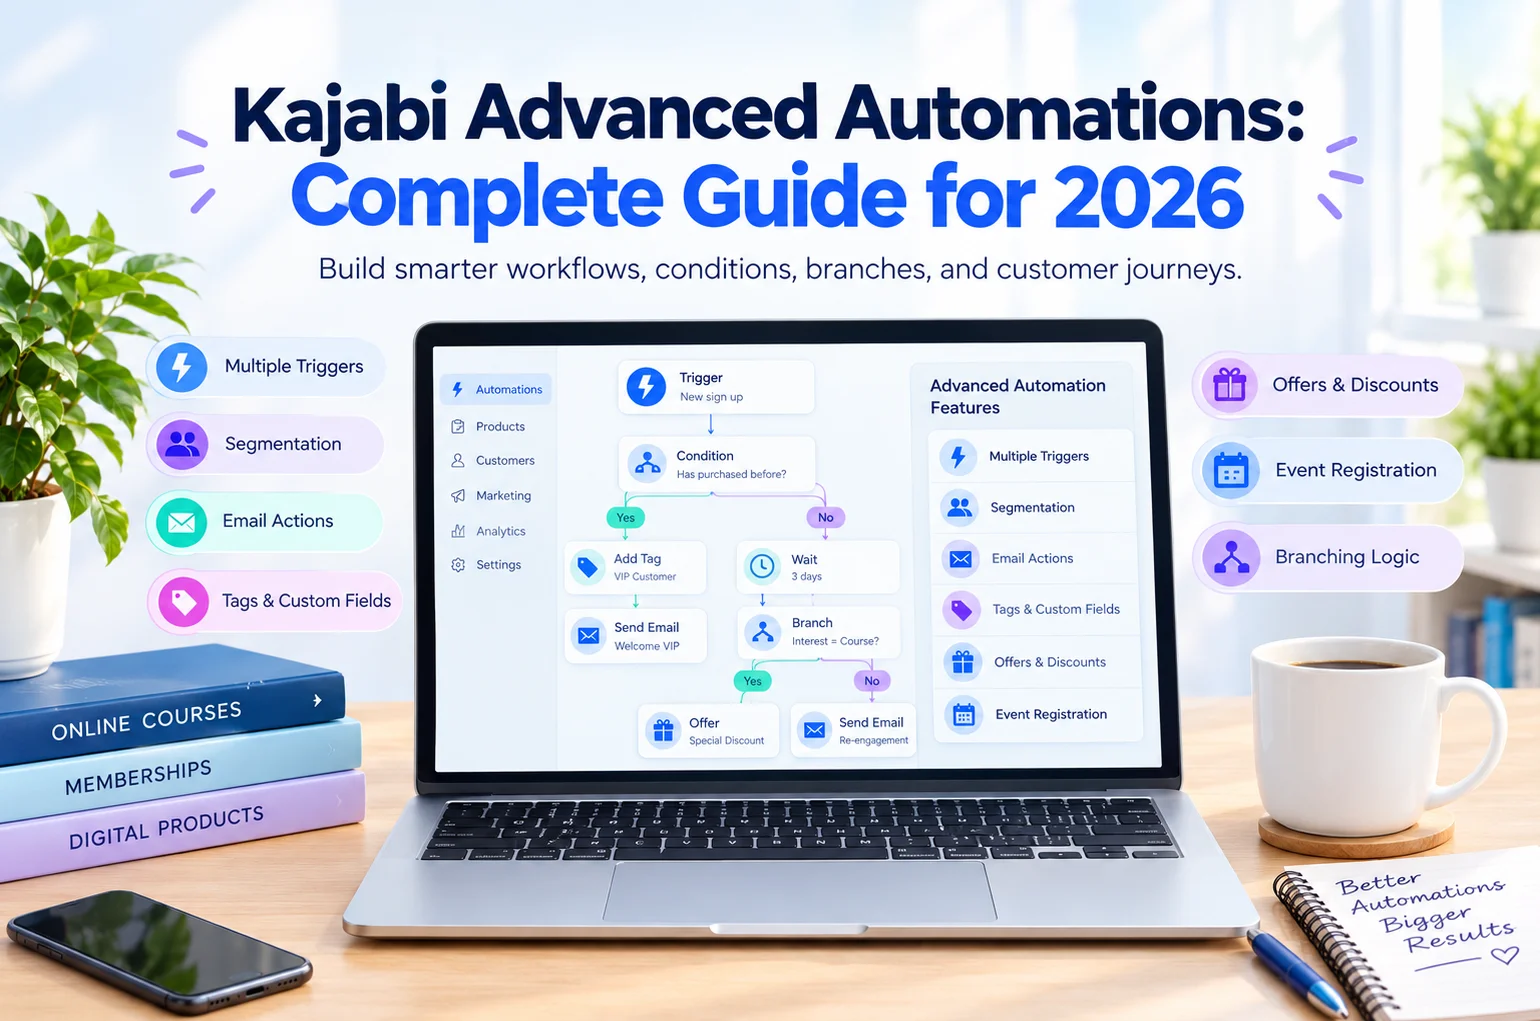
Table of Contents ▼
Quick Answer
This guide explains Kajabi Advanced Automations and how creators can use triggers, actions, conditions, Wait Nodes, and customer journeys to automate lead nurturing, course onboarding, upselling, re-engagement, pricing-based workflows, and membership win-back campaigns.
Running an online course, coaching program, membership, or digital-product business involves many repetitive tasks. You may need to welcome new leads, send follow-up emails, onboard customers, segment contacts, promote products, and re-engage inactive subscribers.
Kajabi Advanced Automations can help organize many of these processes into automated workflows.
Kajabi describes its automation system around a “when, then, but only if” logic. Advanced Automations add conditional logic so that an action can happen only when a specific condition is met.
In 2026, Kajabi’s automation tools also include capabilities such as Wait Nodes and visual workflow features that can make customer journeys more flexible.
This guide explains what Kajabi Advanced Automations are, how they work, practical automation examples, and how to build better workflows.
What Are Kajabi Advanced Automations?
Kajabi Advanced Automations allow creators and businesses to automate actions based on customer behavior and specific conditions.
The basic structure is:
When → Then → Only If
For example:
When: Someone submits a lead form
Then: Add a specific tag
Only If: Their form response matches a particular answer
Kajabi’s official documentation confirms that the Only If condition is available with Advanced Automations and can be used to filter contacts based on collected information.
This gives you more control than a simple trigger-and-action workflow.
Basic vs. Advanced Automations in Kajabi
The difference becomes easier to understand with an example.
A basic automation could look like this:
When someone submits a form → Send a welcome email.
An advanced automation could look like this:
When someone submits a form → Send a welcome email → Only if they selected “Course Creator.”
The second workflow allows you to personalize the next action based on information about the contact.
Kajabi states that Advanced Automations include the When, Then, and Add Condition filters, while the Add Condition filter provides the “Only If” logic.
This type of segmentation can be useful for:
- Course creators
- Coaches
- Consultants
- Membership businesses
- Training organizations
- Digital-product businesses
How Kajabi Advanced Automations Work
A useful automation normally contains several components.
1. Trigger
The trigger determines what starts the automation.
Depending on your setup, the trigger may relate to an action such as:
- A form submission
- A purchase
- A course-related action
- An email interaction
- A tag
- An event
- A subscription action
For example:
Trigger: Customer purchases an online course.
That event starts the workflow.
2. Action
The action tells Kajabi what should happen after the trigger.
Examples can include:
- Sending an email
- Adding a tag
- Removing a tag
- Granting access
- Revoking access
- Registering someone for an event
- Starting another workflow
For example:
When: Customer purchases Course A
Then: Send a welcome email.
3. Condition
Conditions make the automation more specific.
For example:
When: Someone purchases Course A
Then: Send an invitation to Course B
Only If: They do not already own Course B.
This prevents customers from receiving irrelevant messages.
4. Wait Node
A Wait Node introduces a delay between automation steps.
For example:
Purchase → Send welcome email → Wait 3 days → Send progress email
Kajabi’s official documentation explains that Wait Nodes can pause an automation for a set amount of time, a calendar date, a specific day of the week, or a particular time of day.
This can be useful for:
- Course onboarding
- Email sequences
- Follow-ups
- Delayed offers
- Drip-style content
7 Practical Kajabi Advanced Automation Examples
1. Lead Magnet Welcome Sequence
Suppose someone downloads your free guide.
You could create this workflow:
Form submitted → Add Lead Magnet tag → Send resource email → Wait 1 day → Send educational email → Wait 2 days → Introduce relevant course
This type of automation allows you to nurture a new lead without manually sending each email.
If you are also building a lead-generation funnel, see our guide to Kajabi lead generation funnels for related strategies.
2. Course Purchase Onboarding
A customer who has just purchased a course usually needs clear instructions about what to do next.
An onboarding workflow could look like:
Course purchased → Send welcome email → Wait 1 day → Send Start Here instructions → Wait 3 days → Send progress reminder → Continue customer journey
This connects your course purchase with your communication system.
For a broader funnel strategy, you can also read Kajabi Sales Funnel Setup: 5 Proven Ways to Grow Enrollments.
3. Engagement-Based Automation
Not every learner behaves the same way.
Some students may actively progress through your course while others may stop after the first few lessons.
You can design different communication paths around available customer information and actions.
For example:
Course activity → Check customer condition → Active customer → Send next resource → Less-engaged customer → Send reminder
The goal is to make communication more relevant instead of sending exactly the same message to everyone.
4. Course Upsell Automation
Suppose a customer purchases your beginner course.
After several days, you want to introduce an advanced course.
You could create:
Beginner course purchased → Wait 7 days → Check whether Advanced Course is already owned → If not owned → Send advanced-course email → If already owned → Send another relevant resource
This is a practical example of why conditional automation can be useful.
You can also connect this strategy with your broader Kajabi email marketing funnel.
5. Re-Engagement Automation
Some subscribers become inactive after joining your list.
A re-engagement workflow could look like:
Inactive subscriber → Wait → Send helpful email → Check engagement → Engaged → Continue normal communication
Still inactive → Send final re-engagement message
The content should provide a useful reason to return rather than simply asking the person to open another email.
6. Pricing-Based Automation
Pricing options can be important when you sell the same product through different payment structures.
For example:
- Monthly subscription
- Annual subscription
- Payment plan
Your customer journey can be organized around the applicable purchase or subscription event.
This can be useful for:
- Customer onboarding
- Payment-related communication
- Membership workflows
- Access management
When building pricing-related workflows, always check Kajabi’s current documentation for the specific triggers and actions available on your account.
7. Cancellation and Win-Back Automation
A cancelled membership does not necessarily have to end the customer relationship.
A win-back workflow could be:
Membership canceled → Record cancellation → Wait 7 days → Send helpful follow-up → Offer relevant next step
For example, the message might provide a useful resource, ask for feedback, or explain another suitable option.
The exact workflow should depend on why the customer canceled and what products or services you offer.
How to Create a Kajabi Advanced Automation
Step 1: Define the Goal
Before opening the automation builder, decide what you want the workflow to accomplish.
For example:
Automatically onboard customers after they purchase my online course.
A specific objective makes it much easier to decide which triggers and actions are necessary.
Step 2: Choose the Trigger
Identify the event that should start the workflow.
For a course onboarding system, the trigger could be:
Customer purchases an offer.
Step 3: Add the First Action
Decide what should happen immediately after the trigger.
For example:
Send welcome email.
The email could explain:
- Where to access the course
- Where to begin
- What students should expect
- How to get support
Step 4: Add a Wait Node
You can introduce a delay before the next action.
For example:
Wait 2 days → Send progress email
Kajabi’s Wait Node documentation confirms that delays can be configured around duration, dates, days, and times.
Step 5: Add a Condition
Now determine whether the next action should apply to everyone.
For example:
Only If → Customer does not own Advanced Course
This is where Advanced Automations become particularly useful.
Step 6: Add Additional Actions
Continue building the workflow based on your customer journey.
Avoid adding unnecessary steps simply because the automation builder gives you the option.
Every action should have a purpose.
Step 7: Test the Workflow
Before activating your automation, test the complete customer journey.
Check:
- Trigger
- Email content
- Timing
- Conditions
- Tags
- Course access
- Links
- Different customer paths
Testing is especially important when the workflow contains multiple conditions.
Kajabi Advanced Automation Best Practices
Keep Your Workflow Organized
A complicated automation can become difficult to maintain.
Start with the simplest workflow that solves your problem.
Then expand it when you have a genuine reason to do so.
Use Clear Automation Names
Instead of:
Automation 1
Use:
New Course Buyer – 7-Day Onboarding
This makes your automation dashboard much easier to manage.
Use Consistent Tags
A consistent tagging system can make segmentation easier.
For example:
- Lead – Webinar
- Lead – Ebook
- Customer – Course A
- Customer – Course B
- Member – Active
- Member – Cancelled
Use Wait Nodes Strategically
Avoid sending several messages immediately after one another.
Give customers enough time to read, act, and progress.
Avoid Duplicate Workflows
Before creating a new automation, check whether an existing workflow already handles the same customer journey.
This can prevent unnecessary complexity.
Kajabi Advanced Automations and Sales Funnels
Automation works especially well when it is connected to a clear funnel.
A typical customer journey might look like:
Search / Social Traffic → Blog or Landing Page → Lead Magnet → Email Automation → Sales Page → Checkout → Course Onboarding → Upsell or Membership
For example, TheEduAssist’s Kajabi Funnel Builder guide explains how Kajabi funnels connect landing pages, sales pages, checkout, email marketing, and other parts of the customer journey.
You can also explore Kajabi sales automation for more information about automated follow-ups and customer journeys.
Kajabi Automations for SEO and Content Marketing
Automation and SEO serve different purposes, but they can work together.
SEO can attract people who are searching for information.
Your content can then introduce a relevant lead magnet.
The lead magnet can move visitors into an email workflow.
The automation can nurture those leads toward a relevant course or service.
For example:
Google Search↓SEO Blog Article↓Lead Magnet↓Email Sequence↓Course Offer↓Customer Onboarding
This is why content strategy should be connected with your funnel rather than treated as a completely separate activity.
If you’re building a content strategy around Kajabi, see our guide to Kajabi Blogging Strategy.
Common Kajabi Automation Mistakes
Creating Automation Without a Goal
Do not create workflows just because automation is available.
Start with a customer problem or business process.
Sending Irrelevant Emails
If someone already owns a product, avoid sending them an email asking them to purchase the same product.
Using Too Many Steps
More automation does not automatically mean a better customer experience.
Ignoring Timing
Use appropriate delays between messages.
Forgetting to Test Conditions
A workflow can work for one customer segment but behave differently for another.
Test each important path before activation.
Frequently Asked Questions
What are Kajabi Advanced Automations?
Kajabi Advanced Automations are workflows that use triggers, actions, and conditional logic. The Advanced version adds an “Only If” condition that allows businesses to make automation more specific.
What is the difference between Basic and Advanced Automations in Kajabi?
Basic Automations use straightforward triggers and actions, while Advanced Automations add conditional filtering through the “Only If” option.
What is a Wait Node in Kajabi?
A Wait Node pauses an automation before it continues to the next step. Kajabi allows waits based on a duration, calendar date, day of the week, or time of day.
Can Kajabi automate course onboarding?
Yes. A purchase-related trigger can be used as the starting point for a workflow that sends welcome information, instructions, reminders, and other relevant communications.
Can I use conditions in Kajabi Automations?
Yes. Advanced Automations provide an “Only If” condition that can filter an automation based on collected contact information and other supported criteria.
Are Advanced Automations useful for online course creators?
They can be useful when course creators need to personalize communication based on customer actions, conditions, timing, purchases, or engagement.
Final Thoughts
Kajabi Advanced Automations can help course creators, coaches, consultants, and membership businesses reduce repetitive manual work and create more structured customer journeys.
The most effective workflow is not necessarily the most complicated one.
Start with a clear goal, choose the appropriate trigger, add useful actions, introduce timing where necessary, and use conditional logic only when it improves the customer experience.
When automation is connected to a well-planned funnel, it can become part of a larger system that moves a visitor from content discovery to lead generation, purchase, and customer onboarding.
Sources & References
Frequently Asked Questions
QWhat are Kajabi Advanced Automations?
Kajabi Advanced Automations are workflows that use triggers, actions, and conditional logic. The Advanced version adds an “Only If” condition that allows businesses to make automation more specific.
QWhat is the difference between Basic and Advanced Automations in Kajabi?
Basic Automations use straightforward triggers and actions, while Advanced Automations add conditional filtering through the “Only If” option.
QWhat is a Wait Node in Kajabi?
A Wait Node pauses an automation before it continues to the next step. Kajabi allows waits based on a duration, calendar date, day of the week, or time of day.
QCan Kajabi automate course onboarding?
Yes. A purchase-related trigger can be used as the starting point for a workflow that sends welcome information, instructions, reminders, and other relevant communications.
QCan I use conditions in Kajabi Automations?
Yes. Advanced Automations provide an “Only If” condition that can filter an automation based on collected contact information and other supported criteria.
QAre Advanced Automations useful for online course creators?
They can be useful when course creators need to personalize communication based on customer actions, conditions, timing, purchases, or engagement.